Easy Chocolate Cake Recipe (No Mixer Needed)
Easy Chocolate Cake Recipe (No Mixer Needed)
Have you ever craved a delicious chocolate cake but felt intimidated by complicated recipes requiring fancy equipment? What if I told you that you could create a bakery-worthy chocolate cake with just a bowl and a whisk?
This easy chocolate cake recipe is a game-changer for both novice bakers and seasoned pros looking for convenience. No stand mixer, no hand mixer—just simple ingredients and basic kitchen tools to create a decadent, moist cake that will impress everyone at your table.
I’ve perfected this recipe through countless tests to ensure it’s foolproof while maintaining that rich, chocolatey goodness everyone loves. Let’s dive into this simple yet spectacular dessert!
Ingredients List
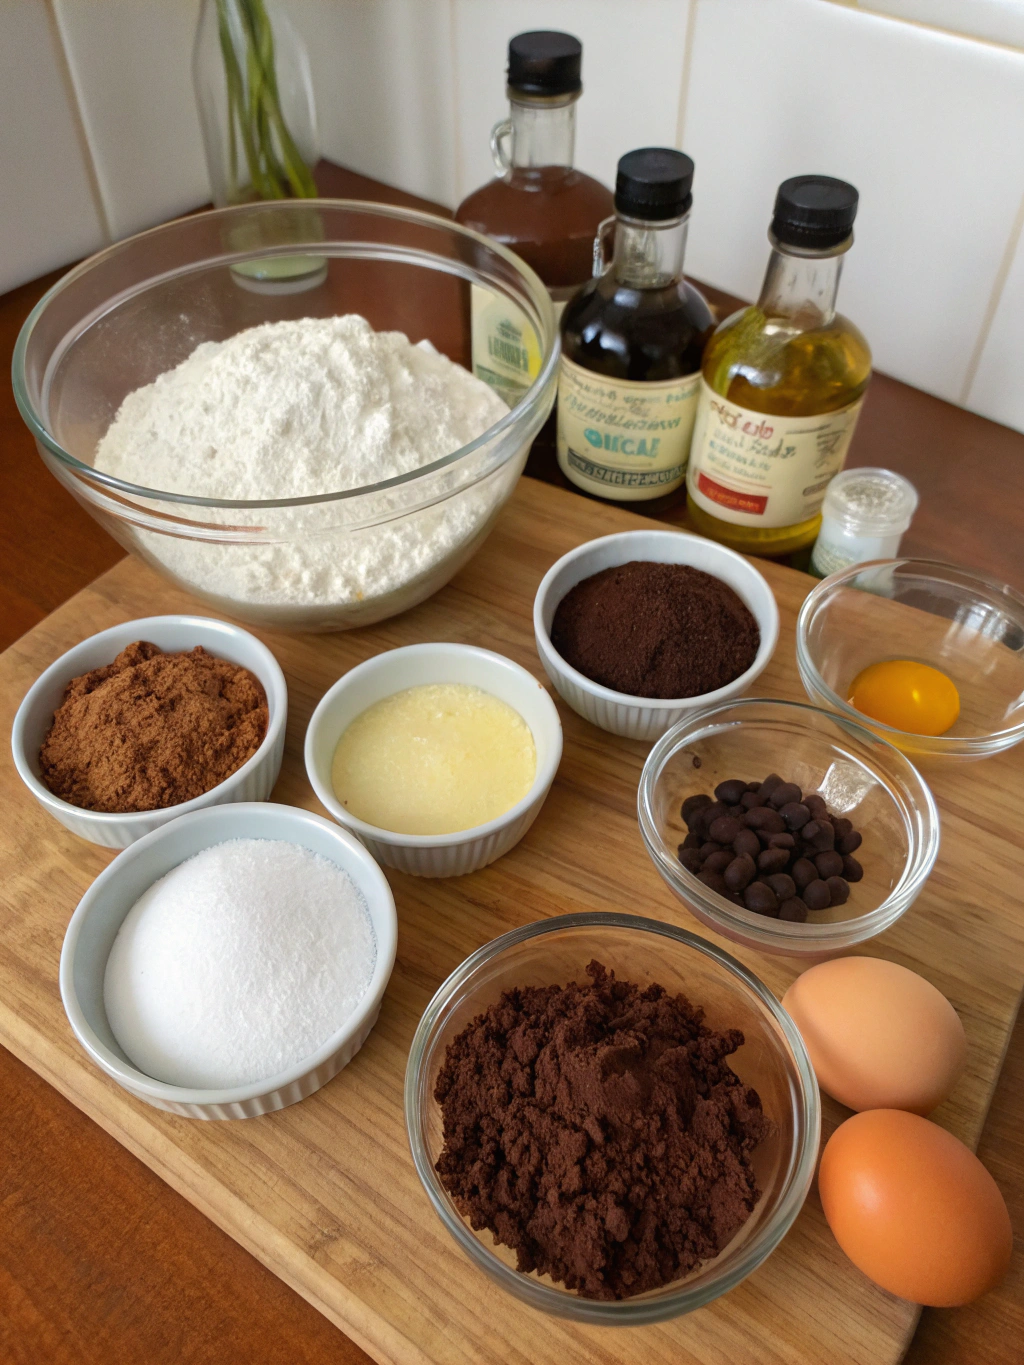
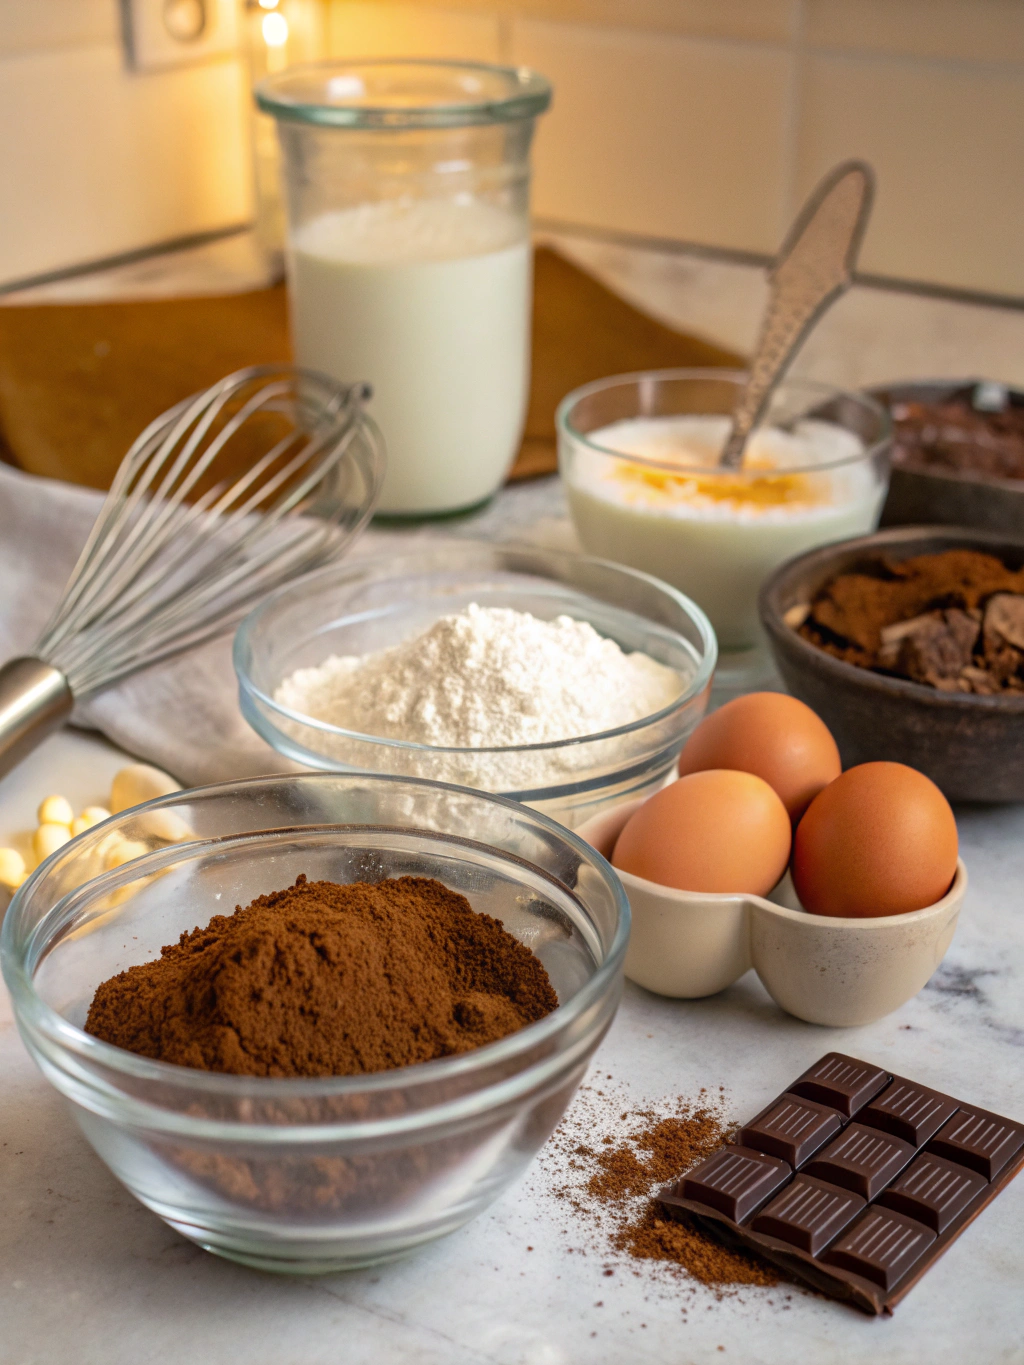
Gathering your ingredients before starting makes this easy chocolate cake recipe even more effortless. Each component plays a crucial role in creating that perfect texture and flavor.
- 2 cups all-purpose flour – For a gluten-free version, substitute with a 1:1 gluten-free flour blend
- 2 cups granulated sugar – Can use coconut sugar for a less refined option
- ¾ cup unsweetened cocoa powder – Dutch-processed gives a deeper flavor
- 2 teaspoons baking powder
- 1½ teaspoons baking soda
- 1 teaspoon salt
- 2 large eggs – Room temperature works best
- 1 cup milk – Any type works (dairy or plant-based)
- ½ cup vegetable oil – Can substitute with melted butter for richer flavor
- 2 teaspoons vanilla extract
- 1 cup hot water – Or hot coffee for enhanced chocolate flavor
For the frosting (optional but recommended):
- ½ cup butter – Softened
- ⅔ cup unsweetened cocoa powder
- 3 cups powdered sugar
- ⅓ cup milk
- 1 teaspoon vanilla extract
Timing
This moist chocolate cake comes together quickly compared to traditional recipes:
Preparation time: 15 minutes – That’s 40% less prep time than most from-scratch cake recipes!
Baking time: 30-35 minutes
Cooling time: 1 hour
Frosting time (optional): 10 minutes
Total time: Approximately 2 hours, with most being passive cooling time
Step-by-Step Instructions
Follow these simple steps for chocolate cake perfection every time. The beauty of this easy chocolate cake recipe is that each step is straightforward with no special equipment needed.
Step 1: Prepare Your Workspace
Preheat your oven to 350°F (175°C). Grease and flour two 9-inch round cake pans, or line them with parchment paper. Pro tip: Spray the pans lightly with cooking spray before placing parchment circles for easier removal.
Step 2: Mix Dry Ingredients
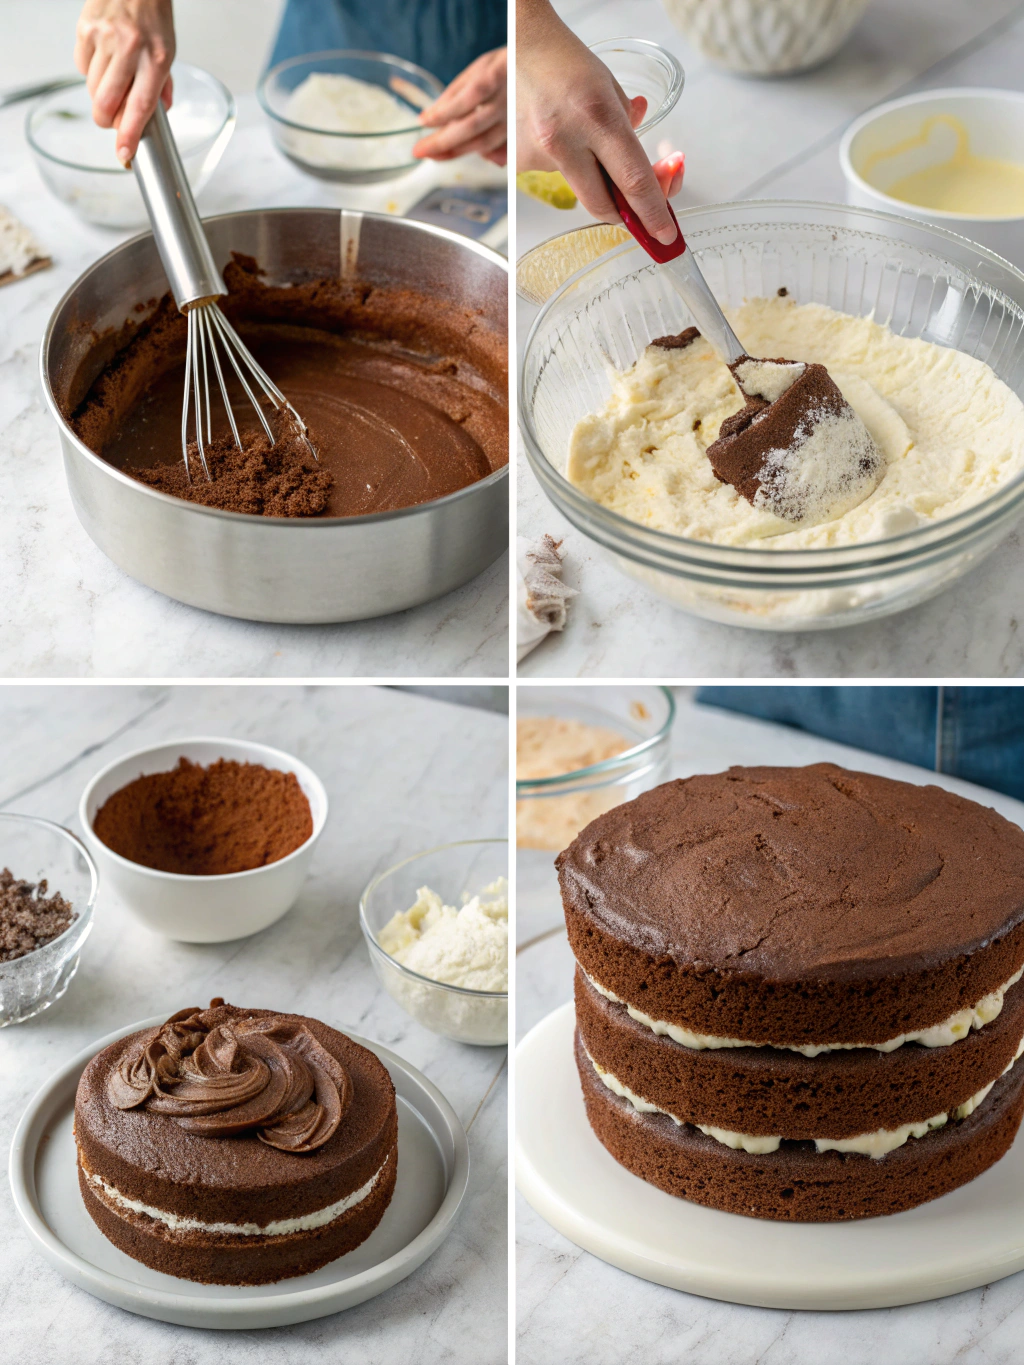
In a large bowl, whisk together flour, sugar, cocoa powder, baking powder, baking soda, and salt until well combined. Create a small well in the center of the dry ingredients for adding wet ingredients. This mixing technique helps prevent lumps without needing a mixer.
Step 3: Combine Wet Ingredients
Add eggs, milk, oil, and vanilla to the well in your dry ingredients. Using a whisk or wooden spoon, mix until just combined. Don’t worry if the batter looks slightly lumpy at this stage—we’ll fix that in the next step.
Step 4: Add Hot Water
Slowly pour in the hot water (or coffee) while stirring. The batter will become thin, which is exactly what we want! This thin consistency creates the moist, tender crumb that makes this cake special. Stir until everything is well incorporated, about 1-2 minutes.
Step 5: Bake the Cake
Divide the batter evenly between your prepared pans. Tap each pan gently on the counter to remove air bubbles. Bake for 30-35 minutes, or until a toothpick inserted in the center comes out with a few moist crumbs (but not wet batter).
Step 6: Cool Completely
Allow cakes to cool in pans for 10 minutes, then carefully turn out onto wire racks to cool completely. Placing them in the refrigerator for 20 minutes after they reach room temperature makes frosting easier if you’re adding icing.
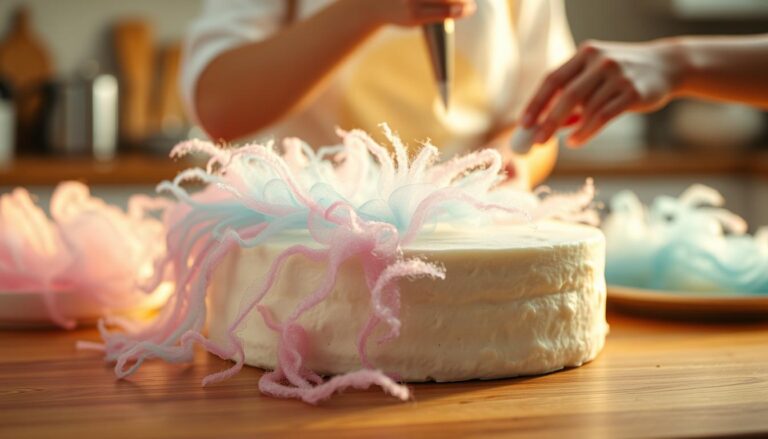
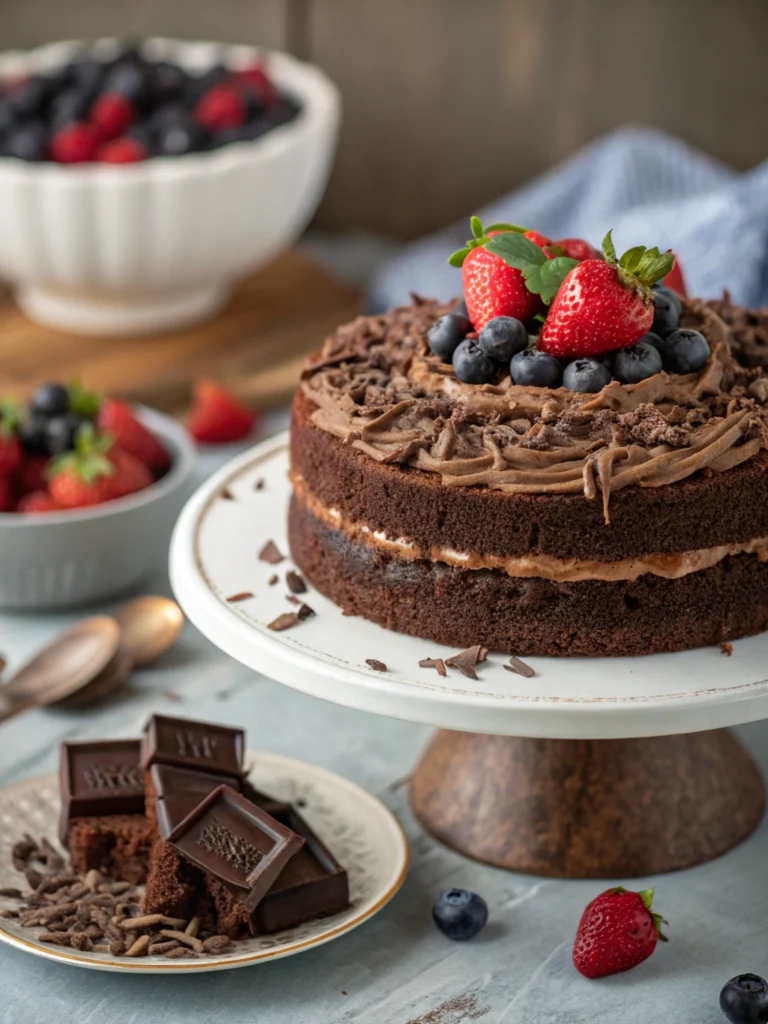
Step 7: Prepare Frosting (Optional)
In a large bowl, beat softened butter until creamy. Add cocoa powder and mix well. Gradually add powdered sugar, milk, and vanilla, beating until you reach your desired consistency. Add more milk if too thick or more sugar if too thin.
Step 8: Frost and Serve
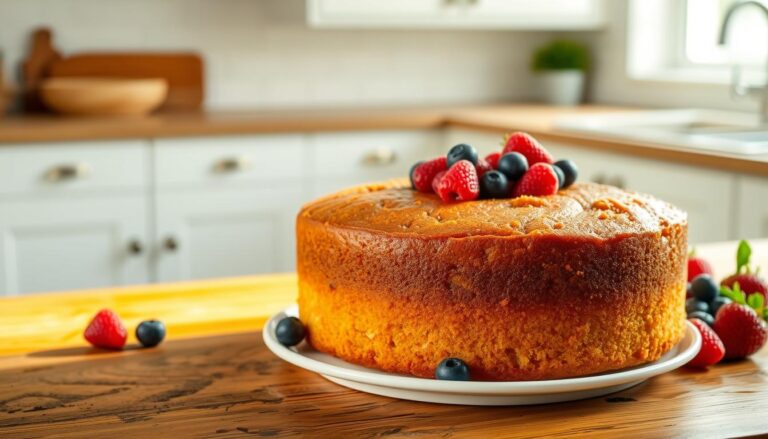
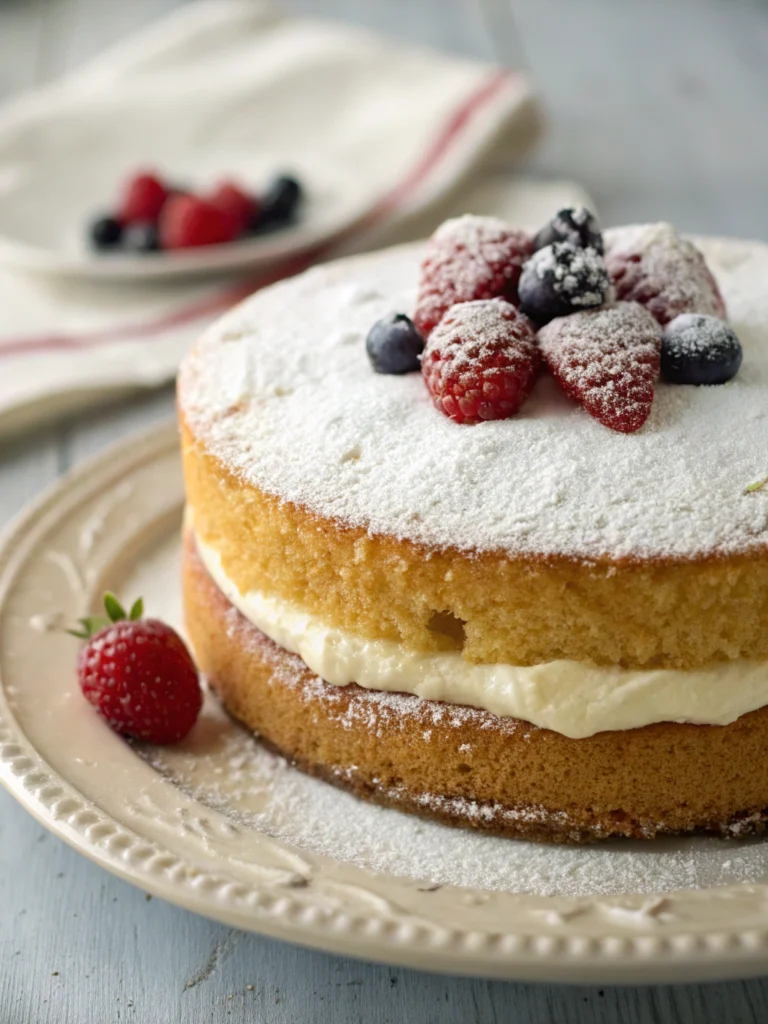
Once cakes are completely cool, place one layer on a serving plate. Spread a layer of frosting on top, then place the second layer on top. Frost the top and sides of the cake. Slice and enjoy your homemade chocolate masterpiece!
Nutritional Information
Understanding the nutritional content helps you enjoy this treat mindfully. Per serving (1/12th of cake without frosting):
Calories: 320
Total Fat: 12g (Saturated Fat: 2g)
Cholesterol: 31mg
Sodium: 350mg
Total Carbohydrates: 52g (Dietary Fiber: 2g, Sugars: 32g)
Protein: 4g
With frosting, add approximately 120 calories per serving. This cake contains about 25% less fat than traditional butter-based chocolate cakes while maintaining a rich flavor profile.
Healthier Alternatives for the Recipe
You can easily modify this easy chocolate cake recipe to suit various dietary needs without sacrificing taste:
Reduce sugar: Cut sugar to 1½ cups and add ¼ teaspoon of stevia for sweetness. This reduces calories by approximately 15% per serving.
Boost nutrition: Replace ¼ cup of flour with ground flaxseed to add omega-3 fatty acids and fiber.
Dairy-free option: Use almond, oat, or coconut milk instead of dairy milk. Each alternative brings a subtle flavor variation that can enhance the chocolate notes.
Lower fat version: Replace oil with an equal amount of unsweetened applesauce for a moisture-preserving fat reduction that cuts approximately 45 calories per serving.
Serving Suggestions
Elevate your chocolate cake experience with these creative serving ideas:
Pair warm cake slices with vanilla ice cream for a classic contrast of temperatures and flavors. The melting ice cream creates a natural sauce that’s irresistible.
Create a dessert bar by offering various toppings like fresh berries, toasted nuts, whipped cream, or warm chocolate sauce. This interactive approach is perfect for gatherings.
For a sophisticated presentation, dust individual slices with cocoa powder and garnish with chocolate curls or mint leaves. Add a dollop of whipped cream flavored with a hint of espresso for an elevated coffee-chocolate experience.
Common Mistakes to Avoid
- Overmixing the batter: This develops gluten and results in a tough cake. Mix just until ingredients are incorporated.
- Opening the oven door too early: This causes temperature fluctuations that can make your cake sink. Wait until at least 25 minutes have passed before checking.
- Using cold eggs: Cold ingredients don’t incorporate as well. Set eggs out 30 minutes before baking for better texture.
- Inaccurate measurements: Baking is a science! Use proper measuring cups for dry and liquid ingredients separately.
- Frosting a warm cake: This melts the frosting and creates a mess. Patience yields better results—always cool completely.
Storing Tips for the Recipe
Proper storage ensures your chocolate cake stays fresh and delicious for days:
Room temperature: Store unfrosted or frosted cake in an airtight container at room temperature for up to 3 days. The cake actually develops deeper flavor after the first day!
Refrigeration: For longer storage, refrigerate for up to 1 week. Bring to room temperature before serving for best flavor and texture.
Freezing: Wrap unfrosted cake layers in plastic wrap, then aluminum foil, and freeze for up to 3 months. Thaw overnight in the refrigerator before frosting and serving.
Make ahead: Prepare cake layers up to 2 days in advance. Wrap cooled layers in plastic wrap and store at room temperature until ready to frost.
Conclusion
This no-mixer chocolate cake proves that spectacular desserts don’t require complicated techniques or special equipment. With simple ingredients and straightforward steps, you’ve now mastered a versatile chocolate cake recipe that’s perfect for any occasion.
Whether you’re a novice baker or simply looking for a reliable go-to dessert, this recipe delivers consistent, delicious results every time. The rich chocolate flavor and moist texture rival any bakery creation, yet it comes together with minimal effort.
Have you tried this recipe? I’d love to hear about your experience! Leave a comment below with your results or any creative variations you tried. And don’t forget to share this recipe with friends and family who appreciate good food made simple!