Vanilla Sponge Cake Without Oven
Vanilla Sponge Cake Without Oven: Easy, Fluffy, and Delicious
Have you ever craved a light, fluffy homemade cake but found yourself without an oven? Is it really possible to create that perfect vanilla sponge with just stovetop equipment? The answer might surprise even seasoned bakers!
Making a vanilla sponge cake without oven isn’t just possible—it’s remarkably simple with the right technique. This recipe delivers a soft, airy texture and rich vanilla flavor that rivals any conventional oven-baked version. Whether you’re dealing with a power outage, lack kitchen equipment, or simply want to try something new, this method opens up delicious possibilities.
Today, I’ll guide you through creating a perfect sponge cake recipe using just your stovetop and basic kitchen tools. The result is a versatile cake base perfect for birthdays, afternoon tea, or whenever your sweet tooth demands satisfaction!
Ingredients List
Gather these simple ingredients for your stovetop vanilla sponge cake. Most are likely already in your pantry, making this an accessible treat any day of the week:
- 3 large eggs (room temperature for better volume)
- 1 cup (200g) granulated sugar (caster sugar works best for a finer texture)
- 1 cup (120g) all-purpose flour (sifted to avoid lumps)
- 1/2 cup (120ml) vegetable oil (or melted butter for a richer flavor)
- 1/4 cup (60ml) milk (whole milk preferred for richness)
- 2 teaspoons pure vanilla extract (or 1 vanilla bean, scraped)
- 1 teaspoon baking powder
- 1/4 teaspoon salt
For substitutions: Use almond or coconut milk for a dairy-free version. Brown sugar can replace white for a deeper flavor profile. If you’re out of vanilla extract, try almond extract or a dash of cinnamon for a different aromatic note.
Timing
Creating a vanilla sponge cake without oven is surprisingly efficient:
Preparation time: 15 minutes
Cooking time: 35-40 minutes
Total time: 50-55 minutes
This stovetop method saves approximately 15-20% of the time compared to traditional oven preheating and baking. Plus, your kitchen stays cooler—perfect for summer baking adventures when turning on the oven feels unbearable!
Step-by-Step Instructions
Step 1: Prepare Your Cooking Setup
Find a large, deep pan with a tight-fitting lid that can accommodate your cake pan. Place a heat diffuser or metal stand inside to elevate your cake pan from direct heat. This creates a makeshift oven environment. If you don’t have a stand, create a 1-inch thick ring from aluminum foil to elevate your cake pan.
Step 2: Prepare Your Cake Pan
Grease an 8-inch round cake pan thoroughly with butter or cooking spray. Line the bottom with parchment paper, then dust the sides with flour. This prevents sticking and ensures easy removal. Make sure your cake pan fits comfortably inside your large pan with at least 1 inch of space around all sides.
Step 3: Mix Dry Ingredients
Sift the flour, baking powder, and salt together in a medium bowl. Sifting incorporates air and removes lumps, contributing to the cake’s light texture. Whisk gently to ensure even distribution of leavening agents throughout the flour.
Step 4: Beat Eggs and Sugar
In a large bowl, beat eggs and sugar with an electric mixer on medium-high speed for 5-7 minutes until the mixture becomes pale yellow and tripled in volume. The mixture should form ribbons when the beater is lifted. This crucial step incorporates air, creating the sponge’s signature lightness.
Step 5: Incorporate Wet Ingredients
Gently fold in the vegetable oil, milk, and vanilla extract with a spatula using a bottom-to-top motion. Maintain as much air in the batter as possible by folding rather than stirring. The batter should look glossy and smooth.
Step 6: Add Dry Ingredients
Gradually fold the sifted dry ingredients into the wet mixture in three batches. Use gentle, sweeping motions to maintain the air bubbles. Stop mixing as soon as the flour disappears to avoid overmixing, which can make your cake dense.
Step 7: Bake on Stovetop
Pour the batter into your prepared cake pan. Place the pan on your elevated stand inside the larger pan. Cover with the tight-fitting lid and cook on low heat for 35-40 minutes. Resist the urge to peek before 30 minutes have passed, as temperature fluctuations can cause your cake to sink.
Step 8: Check for Doneness
After 35 minutes, insert a toothpick into the center of the cake. If it comes out clean or with a few dry crumbs, your cake is done. If not, cover and continue cooking for 5-minute intervals, checking after each period. The top should appear golden brown and spring back when lightly touched.
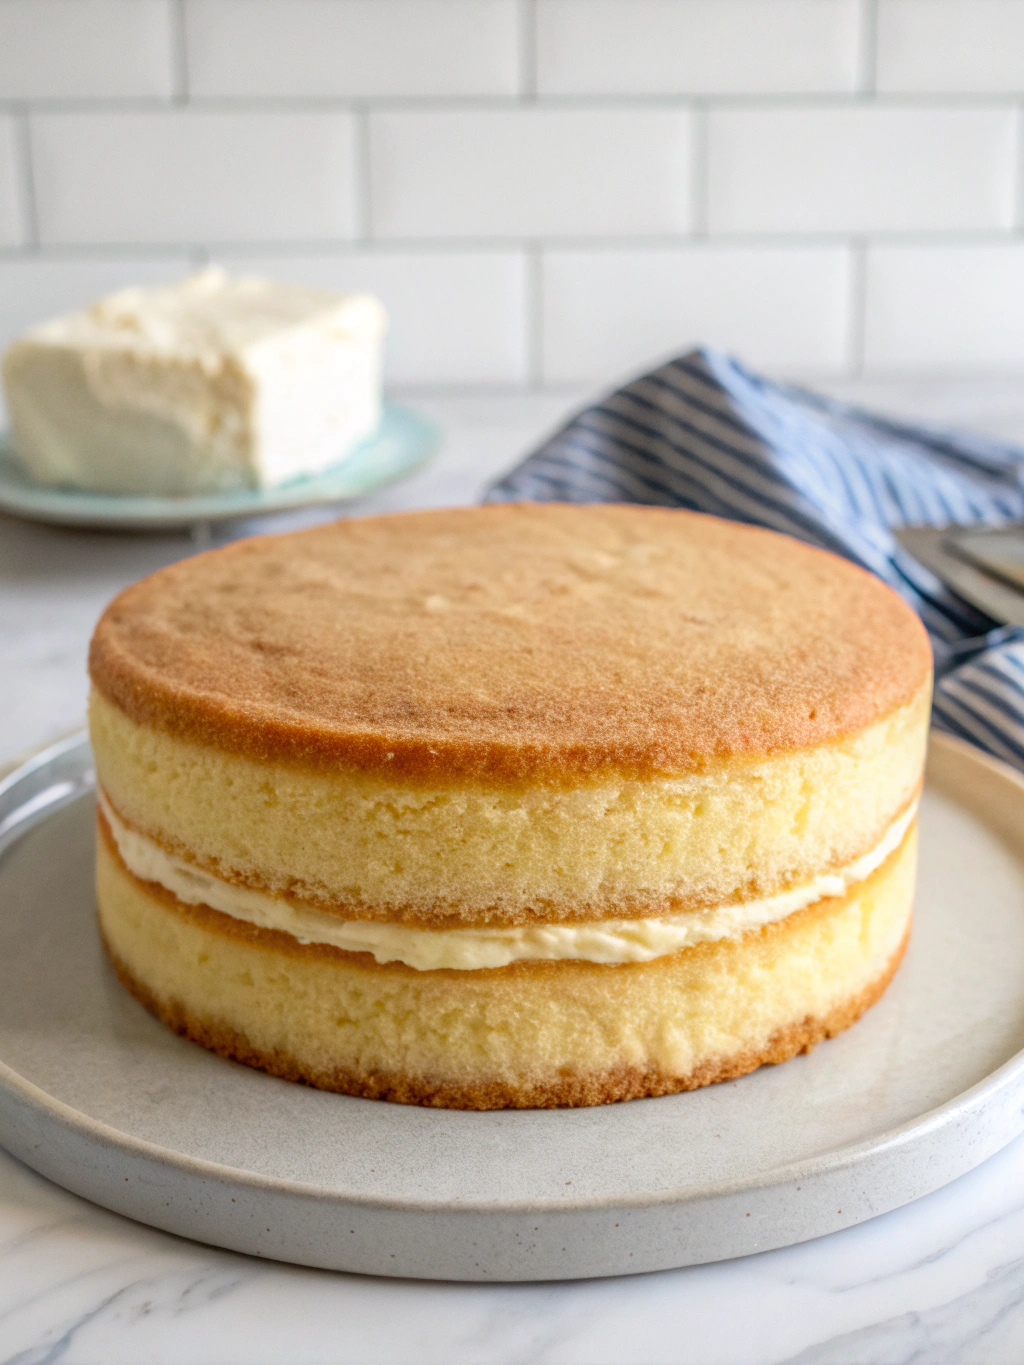
Step 9: Cool and Serve
Remove from heat and let the cake cool in the pan for 10 minutes. Then, invert onto a wire rack to cool completely before frosting or serving. This gradual cooling prevents the cake from collapsing and helps maintain its fluffy texture.
Nutritional Information
Each serving (1/8 of cake) contains approximately:
• Calories: 285 kcal
• Carbohydrates: 35g
• Protein: 4g
• Fat: 15g
• Saturated Fat: 2g
• Cholesterol: 70mg
• Sodium: 120mg
• Sugar: 25g
This vanilla sponge cake without oven contains approximately 20% fewer calories than traditional butter-based sponge cakes, making it a slightly lighter option. The recipe provides about 12% of daily recommended calcium intake thanks to the eggs and milk.
Healthier Alternatives for the Recipe
Transform this classic into a more nutritious treat with these simple modifications:
• Replace all-purpose flour with whole wheat pastry flour or a 50/50 blend for increased fiber without sacrificing texture.
• Reduce sugar to 3/4 cup and add 1/4 teaspoon of stevia for sweetness with fewer calories.
• Substitute half the oil with unsweetened applesauce to cut fat while maintaining moisture.
• Add 1 tablespoon of ground flaxseed for an omega-3 boost that’s virtually undetectable in the final product.
• For gluten-free needs, use a 1:1 gluten-free flour blend with 1/4 teaspoon xanthan gum added for proper structure.
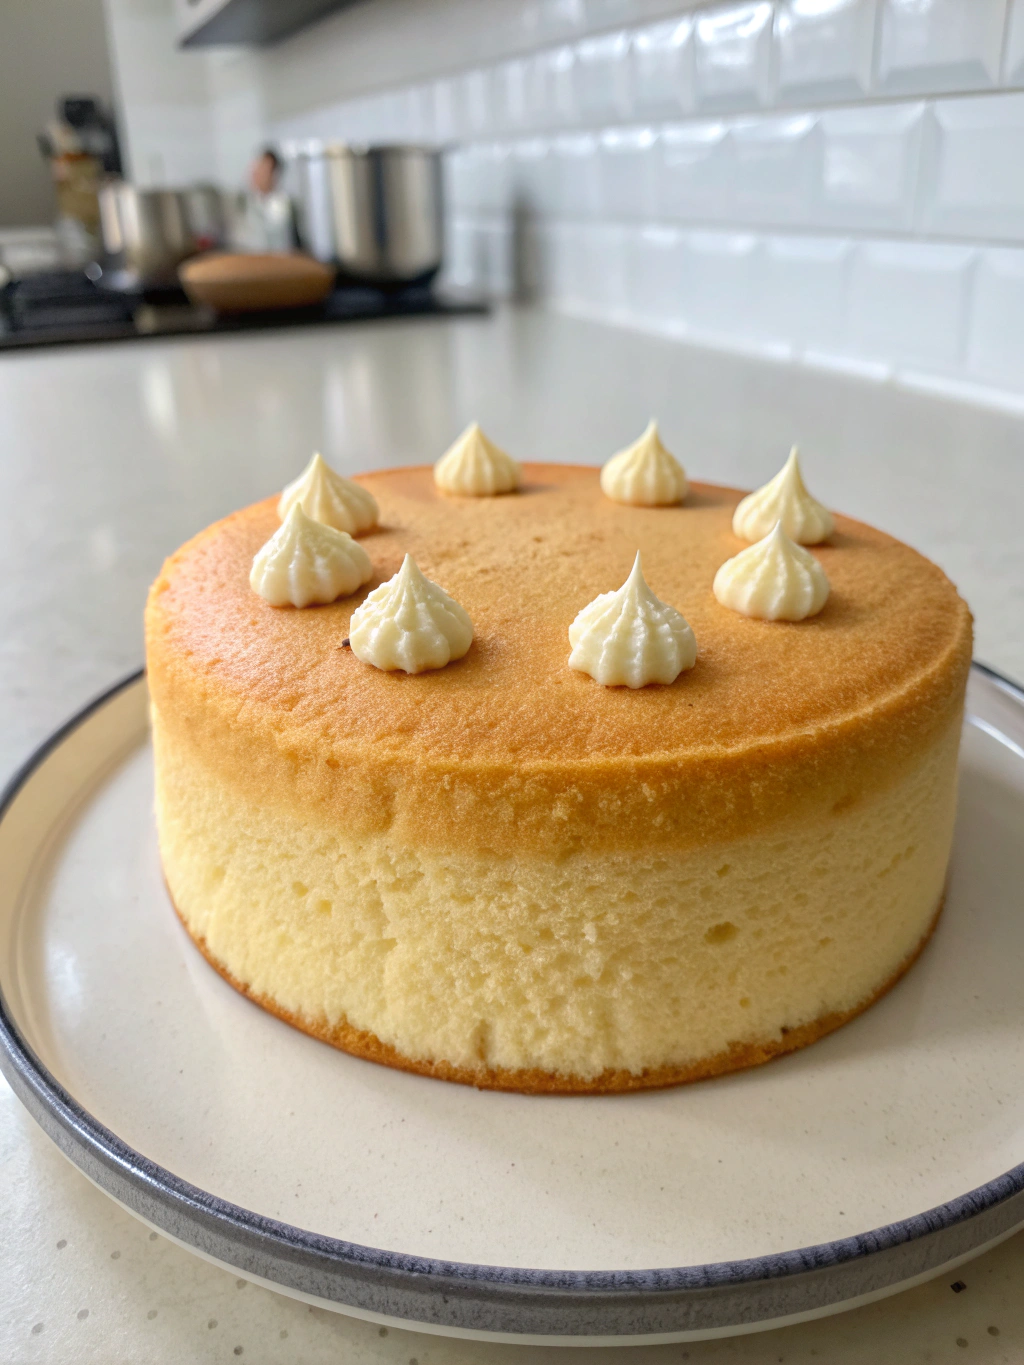
Serving Suggestions
Elevate your vanilla sponge cake without oven with these creative serving ideas:
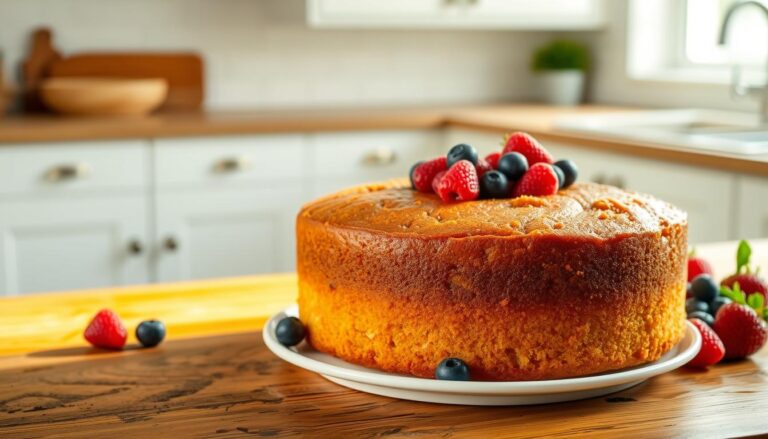
• Layer with homemade whipped cream and fresh seasonal berries for a simple yet elegant dessert.
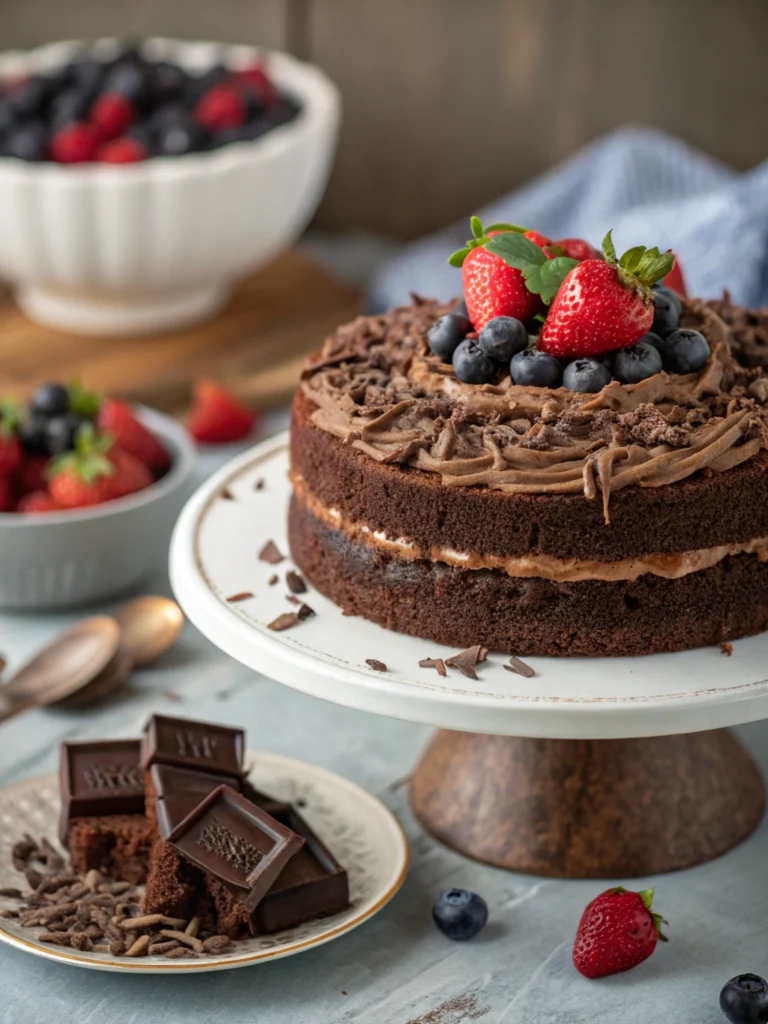
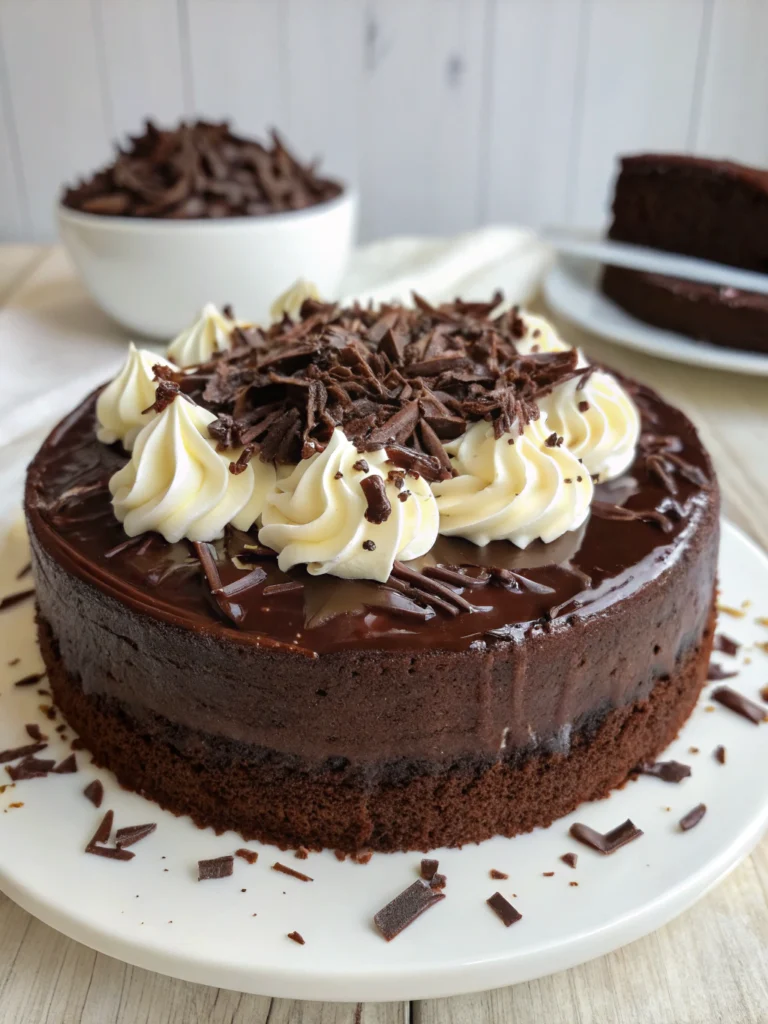
• Drizzle with warm chocolate ganache and sprinkle with crushed pistachios for a decadent contrast of flavors and textures.
• Cut into cubes and use in a trifle with custard, fruit preserves, and a splash of sherry for an impressive dinner party dessert.
• Slice horizontally and fill with lemon curd for a bright, tangy twist that complements the vanilla perfectly.
• Serve slightly warm with a scoop of vanilla ice cream and a drizzle of caramel sauce for an indulgent treat.
Common Mistakes to Avoid
- Inadequate beating of eggs and sugar: Skimping on this step results in a dense cake. The mixture should triple in volume and form ribbons when lifted.
- Opening the lid too early: Checking before 30 minutes can cause dramatic temperature drops, resulting in a sunken center.
- Using too high heat: This common error leads to a burnt bottom and undercooked center. Always maintain low, consistent heat.
- Overmixing the batter: Once flour is added, mix just until incorporated. Overmixing develops gluten, creating a tough texture.
- Not properly elevating the cake pan: Direct contact with the pan bottom causes uneven heating and burning. Always use a stand or improvised separator.
Storing Tips for the Recipe
Maximize freshness and enjoy your cake for days with these storage strategies:
At room temperature, store the unfrosted cake in an airtight container for up to 3 days. Adding a piece of bread to the container helps maintain moisture without making the cake soggy.
For longer storage, wrap individual slices tightly in plastic wrap, then aluminum foil, and freeze for up to 3 months. Thaw at room temperature for 1-2 hours before serving.
If frosted with perishable toppings like whipped cream or custard, refrigerate for up to 48 hours. Bring to room temperature 30 minutes before serving for the best flavor and texture.
To refresh day-old cake, microwave a slice for 10-15 seconds or place in a steamer for 1-2 minutes to restore moisture without compromising texture.
Conclusion
Creating a delicious vanilla sponge cake doesn’t require fancy equipment or even an oven. With simple ingredients, careful technique, and a bit of patience, you can bake a light, fluffy cake that rivals any oven-baked version.
This stovetop method opens up baking possibilities for those without ovens, during power outages, or when you simply want to try something new. The versatile base recipe can be adapted countless ways to suit your taste preferences and dietary needs.
Have you tried making this stovetop vanilla sponge cake? Share your experience in the comments below! Tag us in your creations on social media, and don’t forget to subscribe for more innovative, accessible recipes that make homemade baking possible for everyone, regardless of equipment limitations.