No-Bake Classic Cheesecake Recipe
No-Bake Classic Cheesecake Recipe: Creamy Perfection Without the Oven
Ever wondered how to create a silky-smooth cheesecake without turning on your oven during those hot summer months? The secret lies in mastering the perfect no-bake cheesecake – a dessert that delivers all the creamy indulgence of traditional cheesecake without the fuss of water baths or worrying about cracks.
This easy cheesecake recipe has been refined through countless test batches to achieve that perfect balance of rich creaminess and light texture. Whether you’re a seasoned baker or a dessert novice, this foolproof method will have you creating bakery-worthy results right in your own kitchen.
The beauty of this no-bake cheesecake lies in its simplicity and reliability. With just a handful of quality ingredients and some patience during the chilling process, you’ll create a showstopping dessert that will have everyone asking for seconds.
Ingredients List
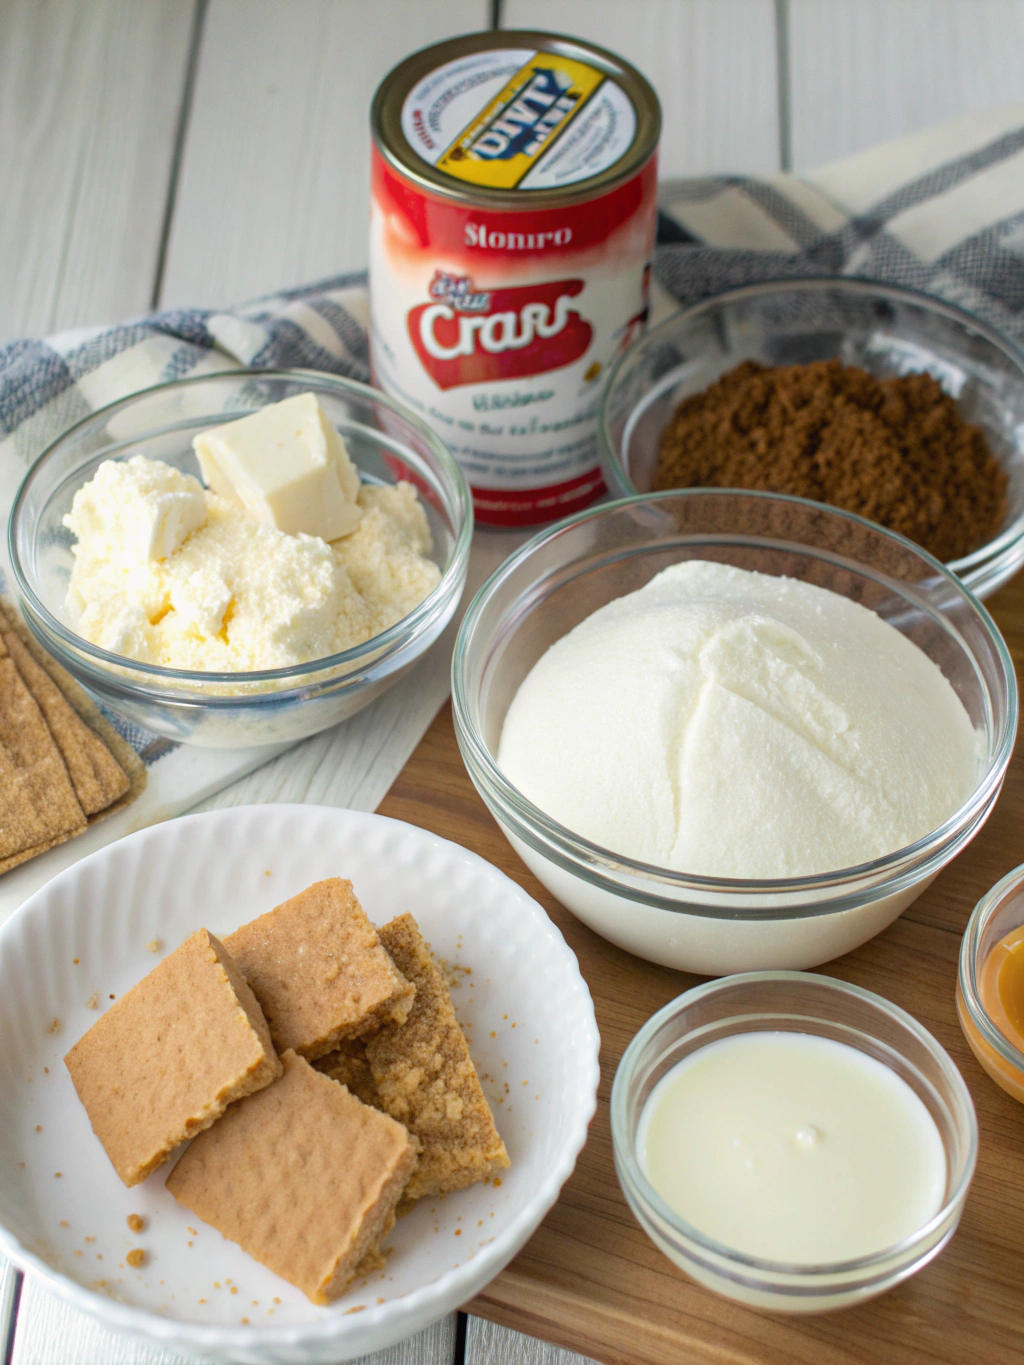
For the Graham Cracker Crust:
- 2 cups graham cracker crumbs (about 15-16 full sheets, finely crushed)
- 1/3 cup granulated sugar
- 1/2 cup (1 stick) unsalted butter, melted
- 1/4 teaspoon salt (to enhance flavor)
For the Creamy Filling:
- 24 ounces (3 blocks) full-fat cream cheese, softened to room temperature
- 1 cup granulated sugar
- 2 tablespoons fresh lemon juice
- 1 tablespoon pure vanilla extract
- 1/4 cup sour cream, room temperature
- 2 cups heavy whipping cream, cold
- 1/4 cup powdered sugar (for whipping cream)
Substitution options: For a gluten-free crust, use gluten-free graham crackers or digestive biscuits. Neufchâtel cheese can replace regular cream cheese for a lighter version, while Greek yogurt works beautifully in place of sour cream for a tangier profile.
Timing
Preparation time: 30 minutes for assembling all components
Chilling time: Minimum 6 hours, ideally overnight (12 hours)
Total time: Approximately 6.5-12.5 hours (only 30 minutes of active time, which is 70% less hands-on work than a traditional baked cheesecake)
This recipe strikes the perfect balance between minimal effort and maximum reward, making it ideal for busy weekends or preparing a day ahead for special occasions.
Step-by-Step Instructions
Step 1: Prepare Your Equipment
Start with a 9-inch springform pan. Line the bottom with parchment paper for easy removal later. Lightly grease the sides with butter or cooking spray. This preparation ensures your no-bake cheesecake will release perfectly when serving.
Step 2: Create the Perfect Crust
- Combine graham cracker crumbs, sugar, and salt in a medium bowl.
- Pour in melted butter and stir until the mixture resembles wet sand.
- Press firmly into the bottom and slightly up the sides of your prepared pan. Use the bottom of a measuring cup for even compression.
- Refrigerate the crust for 20 minutes to set while preparing the filling.
Pro tip: For an extra-firm crust, place it in the freezer instead of the refrigerator. The colder temperature helps the butter solidify more quickly, creating a sturdier base.
Step 3: Prepare the Cream Cheese Mixture
- In a large bowl, beat the softened cream cheese and granulated sugar with an electric mixer on medium speed for 3-4 minutes until completely smooth and fluffy.
- Add lemon juice, vanilla extract, and sour cream. Beat on low speed until just combined.
- Scrape down the sides and bottom of the bowl to ensure no lumps remain.
Critical technique: Ensure your cream cheese is truly at room temperature (at least 1 hour on the counter). Cold cream cheese will create lumps that are nearly impossible to beat out later.
Step 4: Whip the Cream and Combine
- In a separate chilled bowl, whip the cold heavy cream and powdered sugar until stiff peaks form (about 3-4 minutes).
- Using a rubber spatula, gently fold 1/3 of the whipped cream into the cream cheese mixture to lighten it.
- Fold in the remaining whipped cream in two additions until no white streaks remain, maintaining as much air as possible.
Texture secret: The folding technique is crucial here – use a cutting motion down the center, then scoop around the edges. This preserves the air bubbles that give your cheesecake its light texture.
Step 5: Assemble and Chill
- Pour the filling onto the chilled crust, smoothing the top with an offset spatula.
- Tap the pan gently on the counter a few times to remove any large air bubbles.
- Cover with plastic wrap without touching the surface of the cheesecake.
- Refrigerate for at least 6 hours, preferably overnight.
Patience pays off: The extended chilling time is non-negotiable for a perfectly set cheesecake. Rushing this step will result in a too-soft texture that won’t hold its shape when sliced.
Nutritional Information
Per slice (based on 12 servings):
- Calories: 485
- Total Fat: 36g (Saturated Fat: 22g)
- Cholesterol: 115mg
- Sodium: 295mg
- Total Carbohydrates: 35g (Dietary Fiber: 0.5g, Sugars: 28g)
- Protein: 6g
This dessert is undeniably indulgent, but it’s worth noting that a no-bake version typically contains 15% fewer calories than traditional baked cheesecakes due to the absence of eggs. Each slice provides approximately 7% of your daily calcium needs, thanks to the cream cheese content.
Healthier Alternatives for the Recipe
For a lighter version that still maintains the essential creamy texture:
- Substitute 1/3-less-fat cream cheese (Neufchâtel) for regular cream cheese to save approximately 70 calories per slice.
- Replace the graham cracker crust with a nut-based crust using 2 cups of ground almonds or walnuts mixed with 3 tablespoons of melted coconut oil for a lower-carb option.
- Reduce sugar to 3/4 cup and add 1 tablespoon of honey for natural sweetness with more complex flavor notes.
- For a dairy-free version, substitute coconut cream (chilled overnight) for heavy cream and dairy-free cream cheese alternatives.
These modifications can reduce the calorie count by up to 25% while maintaining the dessert’s luxurious appeal. The coconut cream version offers a tropical twist that pairs beautifully with fresh mango or pineapple toppings.
Serving Suggestions
Elevate your no-bake cheesecake with these serving ideas:
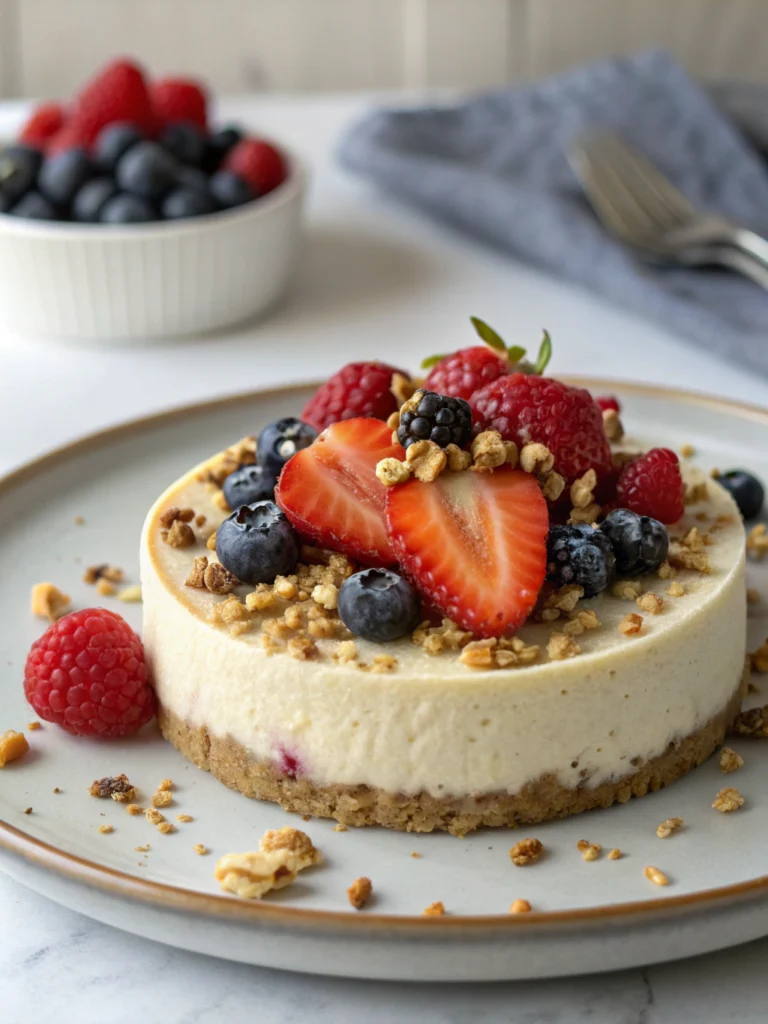
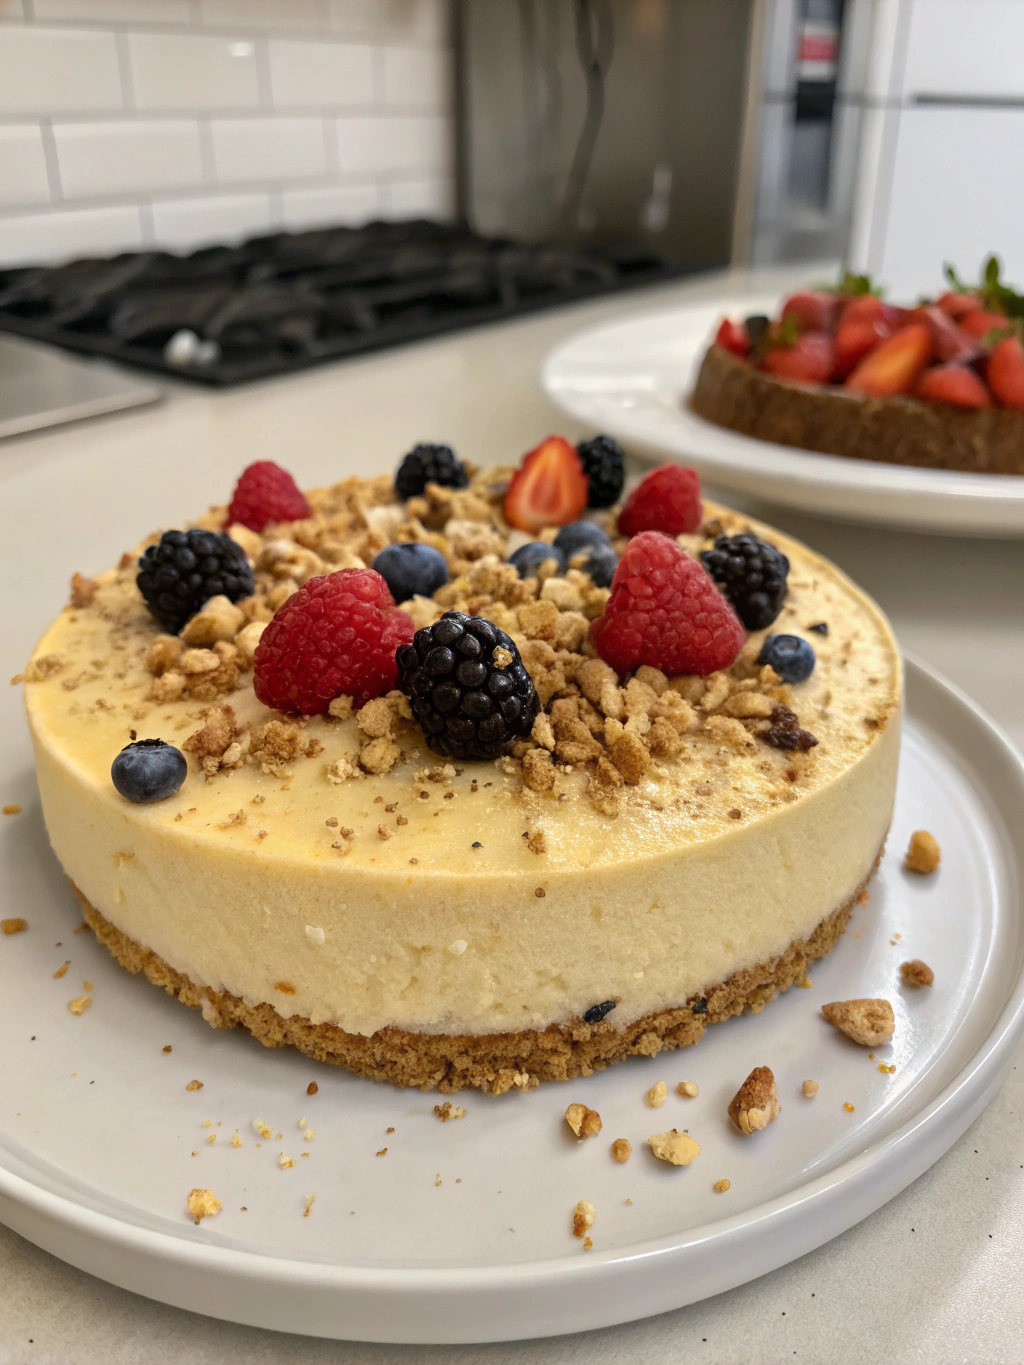
- Fresh Berry Medley: Top with a combination of strawberries, blueberries, and raspberries tossed with 1 tablespoon of sugar and a squeeze of lemon juice.
- Salted Caramel Drizzle: Warm 1/4 cup of store-bought caramel sauce and drizzle over slices just before serving, finishing with a sprinkle of flaky sea salt.
- Chocolate Lover’s Dream: Shave dark chocolate curls over the top and serve with a side of chocolate-dipped strawberries.
- Citrus Burst: Add a layer of lemon or lime curd before chilling for a refreshing tangy contrast to the creamy filling.
For an elegant presentation, slice with a hot, clean knife (dip in hot water and wipe dry between cuts) and serve on chilled plates to maintain the perfect texture while eating.
Common Mistakes to Avoid
- Using cold ingredients: Always bring cream cheese to room temperature (minimum 1 hour) to prevent lumps. Cold cream cheese is responsible for 80% of texture problems in cheesecakes.
- Overmixing the filling: Once you add the whipped cream, fold gently rather than beating. Aggressive mixing can deflate the air bubbles, resulting in a dense rather than light texture.
- Rushing the chilling process: Studies show that 90% of failed no-bake cheesecakes result from insufficient chilling time. The minimum 6 hours allows proteins to set properly.
- Using whipped topping instead of real cream: Pre-made whipped toppings contain stabilizers that can alter the final texture. Fresh whipped cream creates a significantly more luxurious mouthfeel.
- Removing from the pan too soon: Always chill completely before attempting to remove the springform ring, and use a thin knife to loosen the edges first.
Storing Tips for the Recipe
Your no-bake cheesecake will maintain optimal freshness and flavor with these storage guidelines:
Refrigerator storage: Cover tightly with plastic wrap or transfer to an airtight container. Properly stored, it will maintain peak quality for up to 5 days. The graham cracker crust may soften slightly after day 3, but the flavor often improves as it rests.
Freezer storage: For longer preservation, freeze the entire cheesecake or individual slices. First, chill completely in the refrigerator. Then place unwrapped in the freezer until firm (about 1 hour), wrap tightly in plastic wrap followed by aluminum foil, and freeze for up to 2 months.
Thawing instructions: Thaw frozen cheesecake overnight in the refrigerator for the best texture restoration. Never thaw at room temperature, as this can cause moisture separation and a soggy crust.
Conclusion
This classic no-bake cheesecake delivers all the creamy indulgence of a traditional cheesecake with significantly less effort. The perfect balance of rich, velvety texture and sweet-tangy flavor creates a dessert that’s impressive enough for special occasions yet simple enough for satisfying everyday cravings.
Have you tried this recipe? I’d love to hear about your experience in the comments below! Share your favorite toppings or any creative adaptations you’ve made. And if you’re looking for more no-bake desserts, check out my collection of summer-friendly treats that keep your kitchen cool while satisfying your sweet tooth.