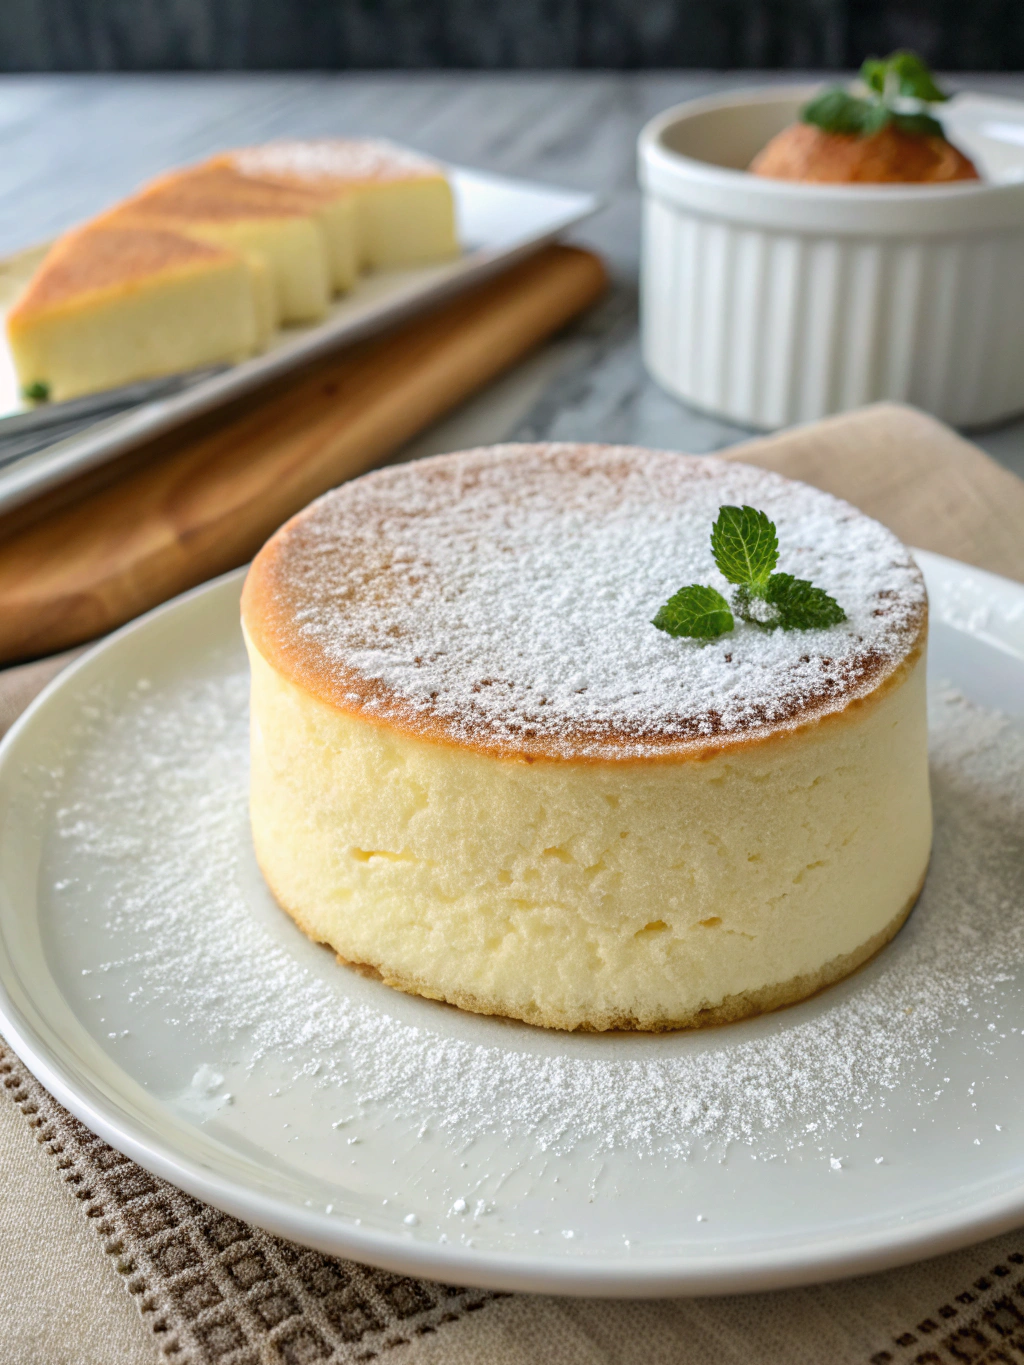
Japanese Cotton Cheesecake (Fluffy and Light)
Japanese Cotton Cheesecake (Fluffy and Light)
Have you ever wondered why traditional cheesecakes leave you feeling heavy, while a Japanese cheesecake seems to disappear on your tongue like a sweet, creamy cloud? The secret lies in a technique that transforms ordinary ingredients into something extraordinary.
This Japanese cheesecake recipe will guide you through creating that impossibly light cheesecake recipe you’ve admired in bakery windows. Unlike its dense American cousin, this version incorporates whipped egg whites for a soufflé-like texture that jiggles when touched.
Perfect for those who find traditional cheesecakes too rich, this airy delight offers a subtle sweetness and delicate cheese flavor that makes it impossible to stop at just one slice.
Ingredients List
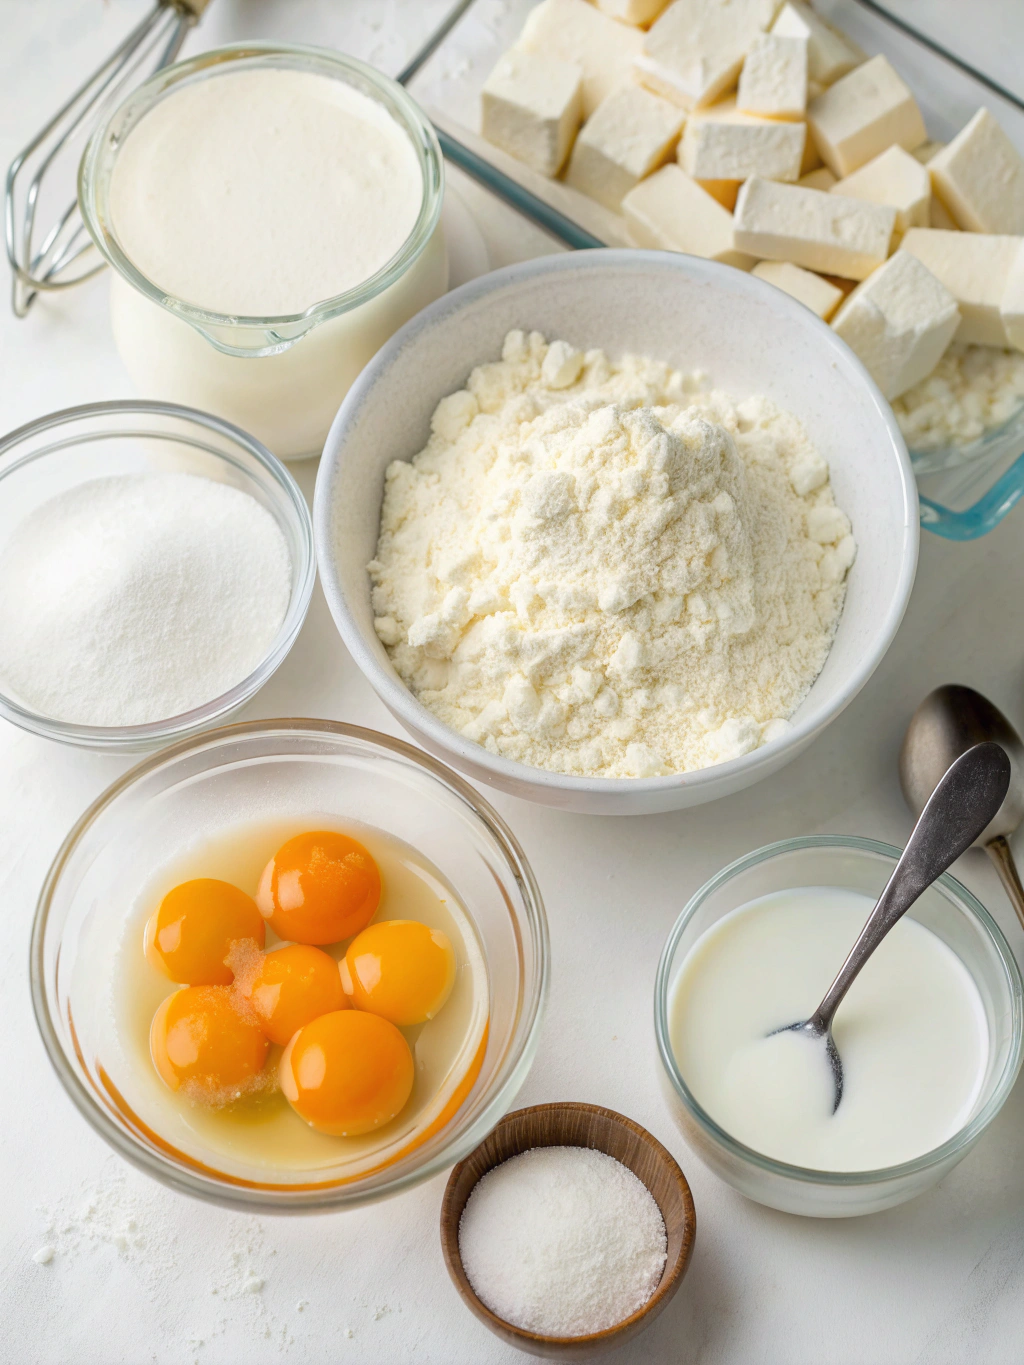
- Cream Cheese: 250g (8.8 oz), room temperature – provides the signature tangy flavor without heaviness
- Unsalted Butter: 60g (4 tbsp), softened – adds richness without overpowering
- Milk: 100ml (7 tbsp) – whole milk works best for creaminess
- Egg Yolks: 6 large, room temperature – creates that custard-like base
- Lemon Juice: 1 tablespoon – brightens the flavor profile
- Cake Flour: 60g (1/2 cup) – provides structure while maintaining lightness (substitute: all-purpose flour + cornstarch)
- Cornstarch: 20g (2.5 tbsp) – helps achieve that cotton-soft texture
- Egg Whites: 6 large, room temperature – the secret to the signature fluffiness
- Granulated Sugar: 140g (2/3 cup) – divided between the batter and meringue
- Cream of Tartar: 1/4 teaspoon – stabilizes the meringue (substitute: 1/2 tsp lemon juice)
- Vanilla Extract: 1 teaspoon – enhances the overall flavor profile
Timing
Preparation time: 30 minutes – this includes bringing ingredients to room temperature and preparing your baking pan
Baking time: 60 minutes, plus 30 minutes cooling in the oven – 25% longer than regular cheesecake but essential for preventing collapse
Chilling time: At least 4 hours, preferably overnight – patience yields the perfect texture
Total time: Approximately 6 hours (including chilling) – most of this is hands-off time where the magic happens
Step-by-Step Instructions
Step 1: Preparation
Preheat your oven to 315°F (160°C). Line the bottom and sides of an 8-inch (20cm) springform pan with parchment paper. Create a water bath by wrapping the outside of the pan with heavy-duty aluminum foil to prevent water seepage. Bring cream cheese, butter, and eggs to room temperature for at least 30 minutes.
Step 2: Create the Cheese Mixture
- In a large bowl, beat cream cheese until smooth and creamy using an electric mixer on low speed.
- Add softened butter and continue beating until fully incorporated and no lumps remain.
- Pour in milk and mix until smooth. The mixture should have a silky consistency.
- Add egg yolks one at a time, mixing well after each addition.
- Stir in lemon juice and vanilla extract, mixing until just combined.
Step 3: Incorporate Dry Ingredients
Sift cake flour and cornstarch directly into the cheese mixture. This prevents lumps and helps maintain the cake’s light texture. Fold gently using a spatula until just combined. Overmixing will develop gluten and make your Japanese cheesecake dense rather than fluffy.
Step 4: Prepare the Meringue
- In a clean, grease-free bowl, beat egg whites on medium speed until foamy.
- Add cream of tartar and continue beating.
- Gradually add sugar (about 70g or 1/3 cup) in three portions, increasing to high speed.
- Beat until stiff peaks form – when you lift the beater, the peaks should stand straight without flopping over.
Step 5: Combine Mixtures
Add 1/3 of the meringue to the cheese mixture and fold gently using a whisk. This lightens the base. Add the remaining meringue in two portions, switching to a spatula and using a gentle cutting and folding motion. Maintain as much air as possible for maximum fluffiness.
Step 6: Baking
- Pour the batter into the prepared pan and smooth the top with a spatula.
- Tap the pan gently against the counter to remove large air bubbles.
- Place the pan in a larger baking dish and fill with hot water about 1-inch high.
- Bake for 60 minutes or until the top is golden brown and slightly jiggly in the center.
- Turn off the oven, crack the door open with a wooden spoon, and let the cake cool gradually for 30 minutes.
Step 7: Cooling
Remove the cake from the oven and water bath. Run a knife around the edges to prevent cracking. Let cool completely at room temperature before refrigerating for at least 4 hours. This patience-testing step is crucial for developing the perfect texture.
Nutritional Information
Each slice (1/8 of cake) contains approximately:
Calories: 280 kcal – about 30% fewer calories than traditional cheesecake
Protein: 7g – primarily from eggs and cream cheese
Fat: 19g (Saturated Fat: 11g) – provides the rich mouthfeel despite the light texture
Carbohydrates: 22g (Sugar: 17g) – significantly less than American-style cheesecakes
Fiber: Less than 1g
Sodium: 150mg – lower sodium content makes it heart-friendly compared to many desserts
Healthier Alternatives for the Recipe
For a lighter version, substitute one-third of the cream cheese with Greek yogurt. This reduces fat content by approximately 25% while maintaining a creamy texture. The added protein bonus makes it more satisfying.
Replace regular sugar with coconut sugar for a lower glycemic index option. The slight caramel notes complement the cheesecake beautifully. Use about 20% less as coconut sugar has a stronger flavor profile.
For a gluten-free adaptation, substitute cake flour with a blend of rice flour and potato starch (3:1 ratio). This maintains the delicate structure while accommodating gluten sensitivities.
Consider using reduced-fat cream cheese if calories are a concern, though the texture may be slightly less luxurious. Compensate by adding an extra teaspoon of vanilla for flavor depth.
Serving Suggestions
Dust the top with powdered sugar just before serving for a simple, elegant presentation that highlights the cake’s beautiful golden surface.
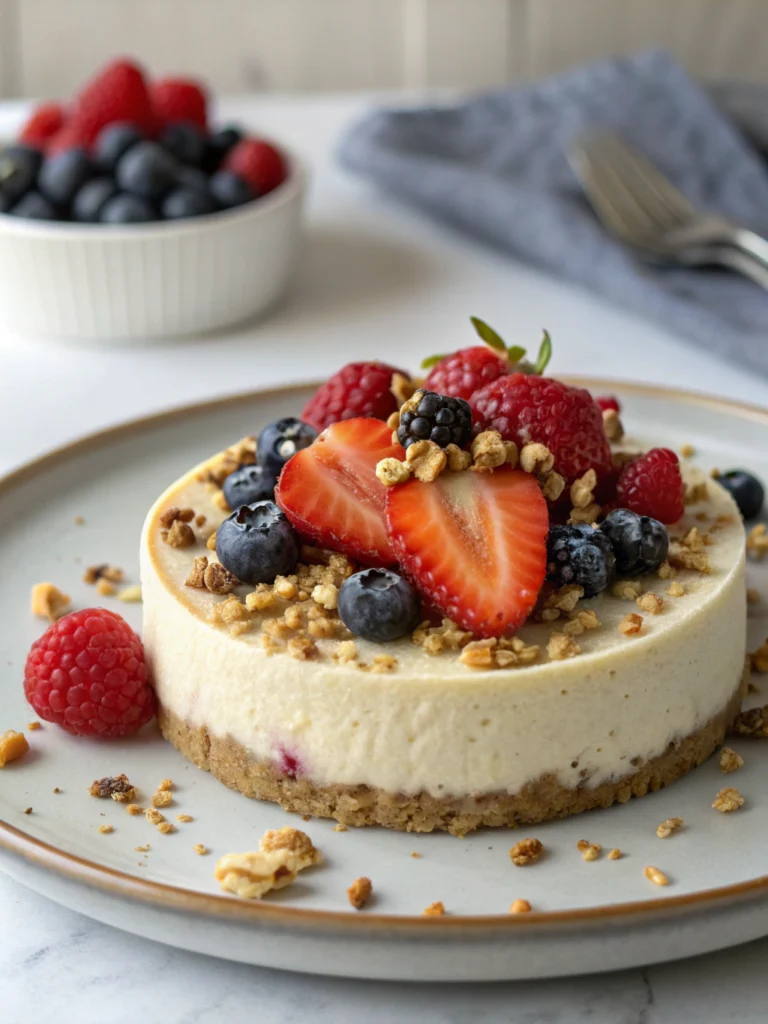
Pair with fresh berries tossed in a touch of honey and lemon zest. The bright acidity cuts through the creamy richness and adds visual appeal.
For a Japanese-inspired twist, serve with a small scoop of matcha ice cream and a drizzle of adzuki bean paste. The bitterness of matcha perfectly balances the subtle sweetness of the cheesecake.
Create a deconstructed dessert by cutting into cubes and layering with whipped cream and citrus segments in a glass. This transforms the classic into a modern, Instagram-worthy treat.
Common Mistakes to Avoid
- Cold ingredients: Using refrigerated cream cheese or eggs results in lumps and poor volume. Always bring ingredients to room temperature for at least 30 minutes.
- Overmixing the batter: This deflates air bubbles and creates a dense cake. Fold gently and just until ingredients are incorporated.
- Skipping the water bath: The steam from the water bath prevents cracking and ensures even baking. Never take this shortcut.
- Opening the oven door: Sudden temperature changes cause dramatic collapse. Resist the urge to peek during the first 40 minutes of baking.
- Rushing the cooling process: Gradual temperature change is crucial. The 30-minute in-oven cooling prevents the dramatic shrinking that leads to cracks.
- Under-beating the meringue: Soft peaks won’t provide enough structure. Beat until stiff but not dry for optimal lift.
Storing Tips for the Recipe
Refrigerate your Japanese cheesecake in an airtight container for up to 5 days. The flavor actually improves after the first 24 hours as the subtle notes meld together.
For freezing, slice the cake first, then wrap individual pieces in plastic wrap and aluminum foil. This method preserves the delicate texture for up to 2 months and allows for portion control.
When ready to enjoy frozen slices, thaw overnight in the refrigerator rather than at room temperature. This gradual process maintains the cake’s moisture balance and prevents condensation from making it soggy.
If you notice the cake drying slightly after storage, serve with a fruit compote or light glaze to restore moisture. A simple syrup infused with lemon zest works beautifully.
Conclusion
Mastering this Japanese cotton cheesecake brings a touch of Tokyo’s finest patisseries to your kitchen. The pillowy texture and delicate flavor profile make it an impressive yet surprisingly achievable dessert for special occasions or whenever you crave something extraordinary.
The techniques you’ve learned here—creating a stable meringue, gentle folding, and patient baking—transfer beautifully to other delicate desserts. Your baking skills have now expanded into the realm of professional-level pastry.
Have you tried this cloud-like dessert? Share your experience in the comments below! And if you’re looking for more Japanese-inspired treats, check out our matcha roll cake recipe that pairs beautifully with this cheesecake for an unforgettable dessert spread.